Dirty windows can block both sunlight and your view of the neighbourhood. Trapped dust and allergens can affect your health. Therefore, you have to wash the windows regularly. With proper tools and solutions, it won’t take much of your time. Let’s take a look at different window-washing techniques so that you won’t have to rely on others.
In this guide, I will show you the step by step process of washing windows so that you can clean them as smoothly as possible.
Table of Contents
How to Wash Your Windows?
Follow the steps below to have crystal-clear windows.
Step 1. Arrange Necessary Tools
For a perfect wash, you will need the following tools. Gather them beforehand, and it will save you time later on.
- A bucket
- Alcohol, vinegar, or dish soap
- Microfibre cloths and wipes
- Rubber gloves
- Window squeegee or scrubber
- Window hands to reach the higher part of the windows
- A handheld and a window vacuum cleaner
- Sponge
Step 2. Preparing the Window Cleaning Solution
You have multiple options to prepare the solution. You can use dish soap, vinegar, or glass cleaners.
Take a clean bucket for preparing the cleaning solution. Dish soap is perfect for regular window cleaning when dealing with light dust and dirt. It’s gentle and readily available to use anytime. Add a few drops of mild dish soap with warm water and mix them. You can pour the prepared into a spray bottle for easy use.
Homemade vinegar window cleaner is another popularly used solution for glass cleaning. Vinegar has a natural cleaning power to cut through grime and make your windows sparkling. Besides, it is eco-friendly and easy to make. Add white vinegar to water and stir them to prepare the solution.
If your windows have heavy grime, grease, and dirt, then adding some alcohol can give you a better result. Additionally, alcohol can disinfect them. It’s recommended especially if you have children or pets.
If you don’t want to prepare the solution at home, you can also find window cleaning solutions at stores. In that case, opt for ammonia-free cleaners as they are safer for you and your family.
Step 3. Clean the Windows
Now that you have prepared the solution, you are all set to go. You must avoid power washing your windows as it can lead to frame damage, shattered glass etc. Instead, follow these safe and effective steps:
- Put on rubber gloves to protect your hands from the cleaning solution and potential debris.
- Use the handheld vacuum to remove cobwebs, dust, and loose debris from the window panes and frames. However, don’t use cleansers or solvents on the frames and panes as they can cause discolour.
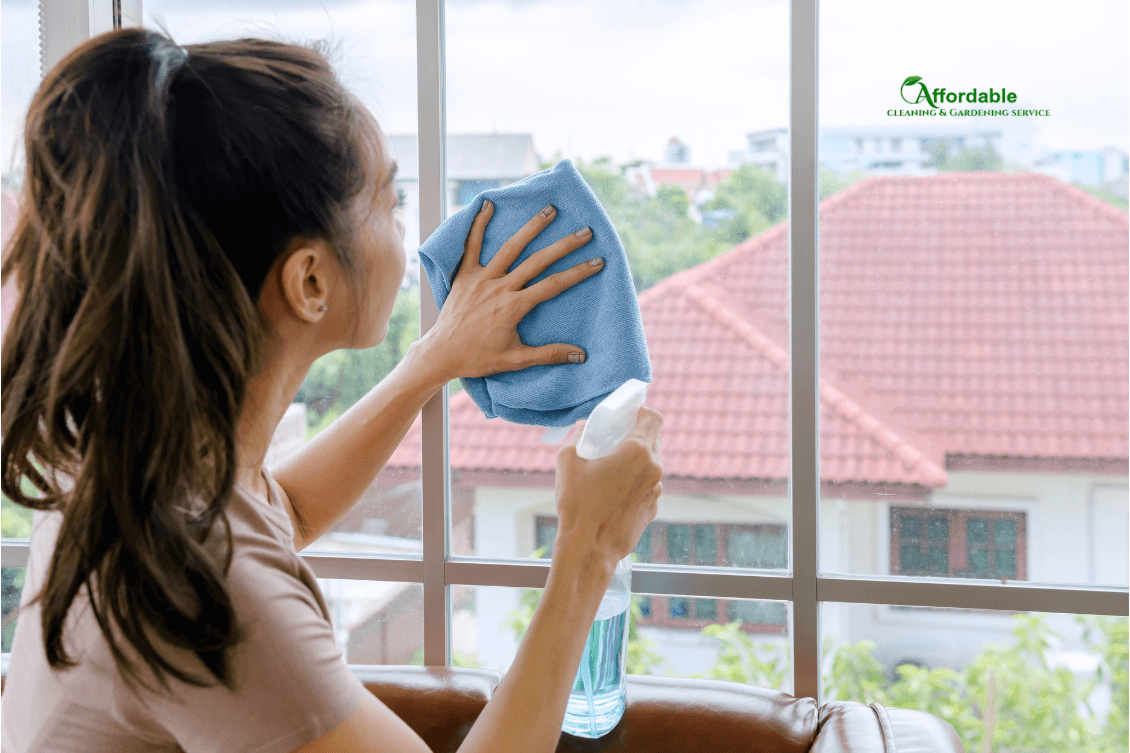
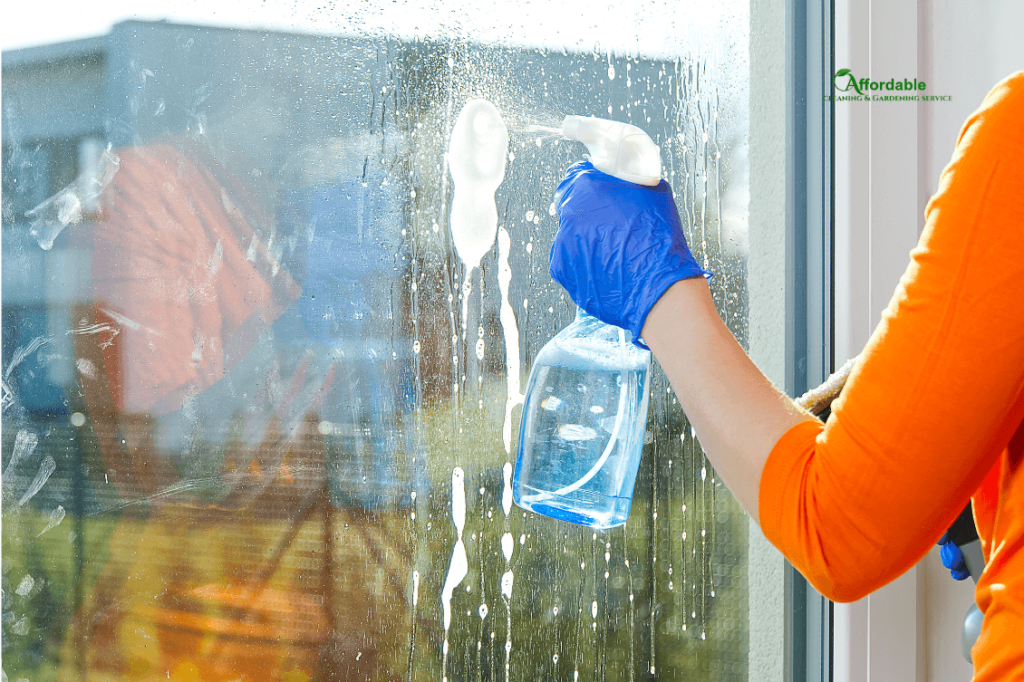
- Mist the window with the prepared solution as needed.
- Use a microfibre cloth to gently scrub the entire glass surface in a circular motion.
- Pay extra attention to corners and edges where grime tends to collect.
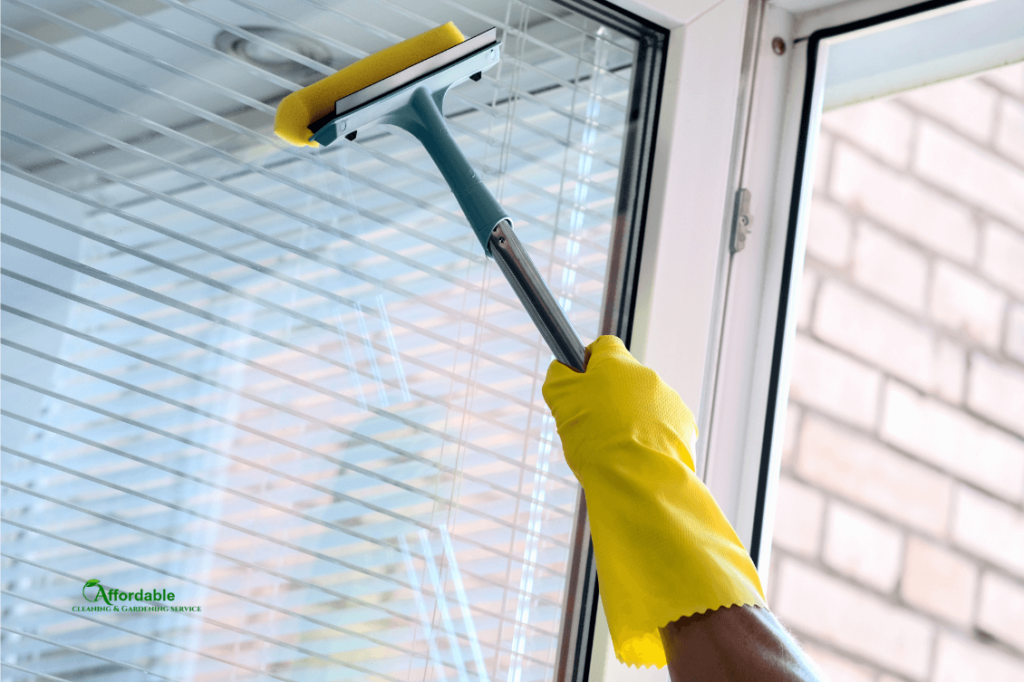
- Use a squeegee or a scrubber to clean the higher part of the window. Pull it down the glass in smooth, even strokes. This ensures streak-free windows.
- Wipe the squeegee blade with the microfiber cloth after each stroke. This prevents streaks and maintains blade efficiency.
You can follow these steps to wash all types of windows including single hung, double hung, easement, etc. However, some window types may require you to follow additional safety. For example, awning windows, fixed, single-hung, or clerestory windows may not be fully washed from inside. Use steady ladders while washing exterior parts of windows located in high places.
Step 4. Drying the Windows
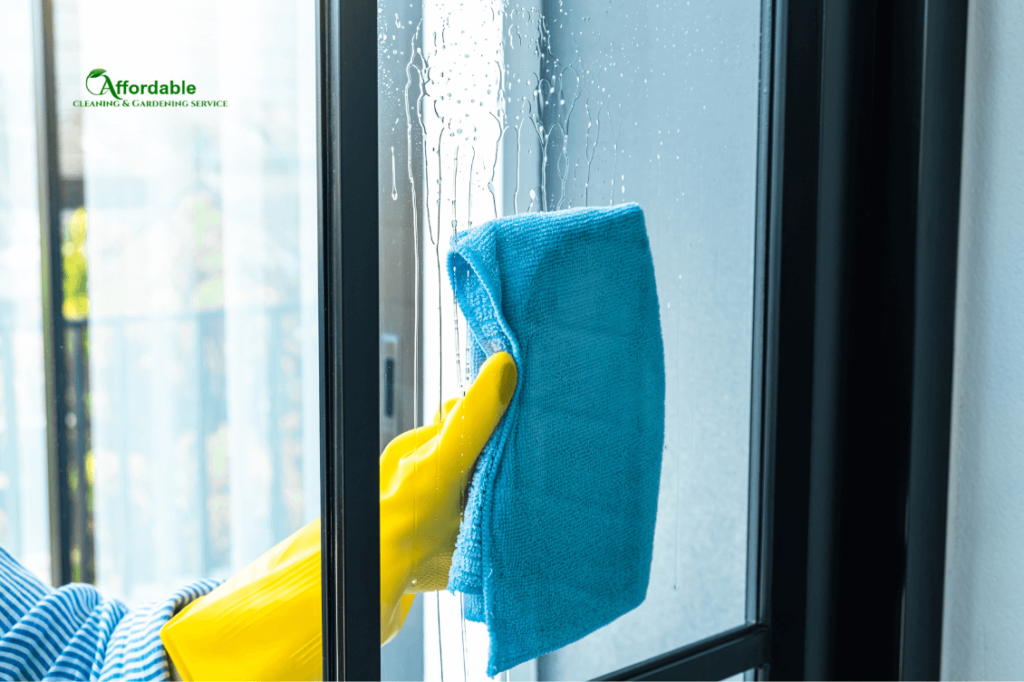
Don’t leave the windows wet there for long. You also have to work on drying them. Water left behind can evaporate unevenly and leaven streaks on the glass.
Once you are done washing, use a damp, squeezed-dry cloth or a sponge to buff the window in a circular motion. It absorbs the remaining water from the glass, and don’t forget about the window sill. For a quicker, streak-free result, you can also use a window vac.
Step 5. Look for Streaks
Once the windows have dried, inspect them thoroughly for streaks. No need to worry if there are a few. Use a dry, lint-free microfibre cloth to buff the window in small circles. For stubborn streaks, try a quick wipe with the solution.
Step 6. After Wash Precaution
Avoid spreading dust and dirt near the windows after cleaning them. Tiny dust particles act like sandpaper. When you wipe them across the already cleaned window surface, they can scratch the glass layer.

Safety Precautions for Multi-story Windows
Multi-story indoor or outdoor window cleaning can be tricky. You have to take extra precautions for safety. Here is how to stay safe:
- Use a ladder that can reach the desired height. Make sure it’s secured and rated for your weight. It’s safe to have a trusted adult hold the ladder for stability.
- Consider using a safety harness for additional safety.
- Avoid cleaning exterior windows in windy, rainy, or icy conditions. Such adverse weather conditions increase the risk of slipping or losing balance.
Tips for Avoiding Streaks and Water Spots
It’s frustrating to find your windows streaked even after cleaning. You have to be more careful to get rid of such unpleasant situations. Here is what you can do:
Prepare A Balanced Solution
Avoid mixing too much water or other cleaning components while preparing the solution. This can reduce the effectiveness of the solution. Also, you should avoid spraying too much cleaning solution to have streak-free results.
Use Microfibre Cloth
Avoid using regular towels or sponges during the cleaning process. You had better use microfiber cloths as they are lint-free and super absorbent. Buff the glass in a circular motion and flip the cloth frequently for the best result.
Use Gentle Solutions
Harsh and abrasive chemicals often tend to leave behind more streaks. They may be an easy solution to clean spots, but the final result is often not so pleasing. Stick to mild solutions like white vinegar and water or dish soap in diluted warm water. Consider using distilled water as hard water minerals can leave spots as well.
Wipe the Windows to Dry
Don’t let water linger. Instead, follow the instructions given above to dry the window. Remember, the faster you remove excess moisture, the less likely you are to see water spots.
Clean from Top Down
When wiping the window, work your way from the top of the window down. It prevents dripping clean solution onto areas you have already dried.
Troubleshooting Common Window Cleaning Process
You may face some troubles while cleaning the windows. Here is what you have to do in different instances:
- Hard water stains: These can be caused by tap or rainwater. Use a 1:1 vinegar-water solution to get rid of this stain.
- Paint Splatters: Special razor tools are available to remove paint from window surfaces. You can also use warm water and dish soap if you are not confident about using a razor.
- Window sill mould: Mould makes your windows look dirty and unhygienic. Vinegar-made solution works better on mould than dish soap. Spray vinegar solution before scrubbing with a toothbrush. Be gentle to avoid scratches.
- Sticky residue: Leftover stickers, tape, or glue can leave sticky residue on windows. Gently rub with a cloth dampened with rubbing alcohol or a vinegar solution. Rinse and dry thoroughly.
Maintenance and Proper Storage of Cleaning Tools
Proper care of cleaning tools keeps them effective and prevents problems. With proper storage, you can keep them germ-free, and effective for a longer period.
- Clean the tools after every use. Rinse your squeeze blade, microfiber cloths, and sponges with clean water to remove dirt and cleaning solution.
- Wash your microfiber clothes regularly in warm water. Don’t use any softener or bleach as they can affect the cleaning power. You can also replace them every few months.
- Inspect the squeegee blade for nicks or tears. Replace it if damaged, as a worn blade can cause scratches. Wipe the blade dry after cleaning to prevent mould or mildew growth.
- Rinse and squeeze out excess water from your sponge after each use. Try storing it in a well-ventilated area to prevent mould growth.
- Instead of tossing your tools in a drawer, hang squeegees and sponges to allow them to air dry completely. It’s better to store microfiber cloths in a clean, dry container to prevent dust and debris buildup.
- If you have excess solutions, then label them while storing them. It avoids later confusion.
How Often to Wash Your Windows?
Thankfully, you don’t have to wash windows as frequently as other household items. The cleaning frequency of window washing depends on your location mostly. Regular monthly wiping and cleaning are good for hygiene. Nonetheless, try to wash them quarterly at least, meaning every 3-4 months. This means, annually you should clean windows at least 3 times.
Conclusion
You won’t find washing the windows that difficult with a little preparation. Use the right tools, follow these handy tips, and your cleaning will be pretty smooth. Your home’s beauty will be multiplied by the sparkling windows and natural light will improve your mood. And yes, don’t forget to store the tools properly for later uses.